Volume I · Chapter 9
Arm Weight
Arm weight refers to the sensation of free, flowing energy within your body—not heaviness, pressure, or tension. True arm weight is light and effortless, and it lets the hands stay relaxed even in demanding passages while carrying natural waves of energy through phrasing and form.
Download this chapter
- Volume
- I · Foundation: Mind & Body
- Chapter
- 9
- Sections
- Theory · Exercises
- Practice Commitment
Theory · Free Energy
The nature of arm weight
Arm weight refers to the sensation of free, flowing energy within your body—not to be confused with heaviness, pressure, or tension. True arm weight is light and effortless. One way to test this quality of relaxation is by speaking: if your jaw, tongue, and throat are fully relaxed, your speech will sound soft or slightly inarticulate—this reflects the presence of free energy in the body. Arm weight exercises should always be practiced with a relaxed tongue, jaw, and throat, allowing that freedom to carry through into the hands.
The role of arm weight in piano playing
In vocal intonation, arm weight adds a three-dimensional depth to the sensation in your vocal cords, connecting the voice more directly to breath and diaphragm support. This way, arm weight supports powerful tone in forte playing and gives you finer control over tone in softer dynamics like piano. It allows your hands to remain relaxed and tension-free, even when playing technically demanding or fast passages.
Most importantly, arm weight allows you to express natural waves of energy within phrasing and across the larger musical form, bringing a sense of breath, flow, and inner motion to your playing.
Exercise 1 — Away from the piano
- 1
Step 1 — Grounding your Energy
Sit upright, away from the piano. As you exhale, gently lean forward. Let your neck release and your hands hang loosely toward the floor beside your feet. Notice the sensation of free energy grounded in your feet.
- 2
Step 2 — Returning with Momentum
Begin to rise back up, letting your torso move slightly backward to build momentum. As you inhale, allow your arms to follow passively, resting lightly on your thighs. Feel the energy traveling upward—from your feet through your legs, hips, and back, rising into your shoulders.
- 3
Step 3 — Directing Energy Forward
Lean your back forward again, this time at about a 30° angle. As you exhale, allow your arms to glide forward, reaching gently toward your knees—as if toward an imaginary keyboard.
- Let the energy flow naturally through your body: from the back, through the shoulders, into the arms, and out through the hands.
- Avoid pushing—let the arms glide with the body’s own free energy.
- To stop the motion, use your core and torso rather than pressing your arms into your knees.
- To prevent your energy from freezing, keep a natural tempo while doing these exercises. Making them too slow can interfere with the natural flow of energy through your body.
Exercise 2 — At the piano
- 1
Step 1
Sit at the piano with your hands resting on your lap, near your knees. Lean your torso forward to about a 30° angle. Feel the free energy grounded in your feet.
- 2
Step 2
Gently shift your torso backward. Notice how the energy moves upward, flowing through your legs, hips, and back, rising into your shoulders.
- 3
Step 3a
As you exhale, once again, lean your back forward to about 30°. Slide your arms forward toward your knees. Sense how the free energy flows naturally through your arms, down to your knees, which represent an imaginary keyboard. Avoid creating a pushing sensation in your arms; instead, let them glide gently with the natural, free energy of your body. To keep from leaning forward further, simply stop the motion using your torso, rather than relying on your arms to push against your knees.
- 4
Step 3b
This time, keep your back still—no forward motion. As you exhale, direct the free energy down through your arms to your knees, just as before.
Arm weight transfer through your singing
- 1
Step 1
Sit at the piano with your hands resting on your lap, closer to your knees. As you exhale, gently lean forward to about a 30° angle, allowing your jaw and throat to be relaxed. Feel the free energy grounded in your feet.
- 2
Step 2
On the inhalation, slowly move your torso back to center. Notice how the energy moves upward, flowing through your legs, hips, and back, rising into your shoulders.
- 3
Step 3a
Lean forward again, about 30°, while exhaling. As you move, feel free energy flowing through your arms down to your knees. Begin singing the first note of the interval right at the start of the forward motion, carried by the full exhale. As your arms arrive near your knees, begin moving to the next note using glissando with resistance. Remain in the same posture as you complete the interval—avoid shifting backward.
- 4
Step 3b
Stay in a still, upright position, without leaning forward. As you exhale, imagine energy flowing freely from your torso down through your arms to your knees. Begin singing the first note of the interval, and shift to the second with glissando and resistance.
- Keep your tempo natural and fluid—singing too slowly may create stiffness in the voice.
- Avoid creating a pushing sensation in your arms.
Singing exercises
Before singing, take a moment to ensure your jaw and throat are fully relaxed. Also, begin each interval with Step 1 of the weight transfer—not just Steps 2 and 3. Together, these two reminders create the foundation for a grounded, free flow of energy from the very start.
Singing exercises
Exercise no.1 · Similar motion
Ascending
Descending
Exercise no.2 · Contrary motion
Ascending
Descending
Exercise no.3 · Contrary motion
Ascending
Descending
Bench position and arm weight transfer
Finding your bench position
Your bench position plays a key role in how effectively you can transfer arm weight to the keyboard. If you sit too deep into the center of the bench, you may find that the energy tends to stop at the pelvis, making it harder to channel it freely through your torso and arms into the keys. Instead, sitting closer to the edge of the bench helps support a more natural flow of energy through the body. At the same time, it’s important to balance this with comfort and stability—you should still feel grounded, relaxed, and supported.
The right height and distance at the piano
Once you’ve begun to develop the sensation of arm weight, you can refine your sitting position using these simple cues:
- Aim to feel the arm weight flowing forward effortlessly and horizontally toward the keyboard.
- If the weight seems to fall diagonally downward, rather than moving horizontally, you may be sitting too high. This can lead to tension in the shoulders and back, and limit the release of weight into the keys.
- A helpful guideline is to sit at a height where your wrists are level with your elbows. This alignment allows for a smooth, continuous flow of arm weight to the keyboard.
- For reference: at a height of 175 cm, this typically means having your belly button aligned with the key surface.
- When it comes to distance, use a similar principle. Position yourself so the upper arm line is aligned with the centerline of your torso.
Playing Exercises
Approaching the keyboard while maintaining arm weight
In the following exercises, you’ll be using exaggerated body movements—sitting slightly higher, lifting and lowering the elbows, and leaning forward more than usual. These motions are intentional. They help you clearly experience gravity and momentum, making the sensation of weight transfer to the piano more noticeable. As your awareness deepens, you’ll be able to reduce the amplitude of these movements. You’ll sit lower, move more naturally, and still feel the same flow of energy through your body—subtler, but just as present.
Be mindful of your setup: avoid sitting too far from the keyboard, as it can place strain on your lower back. Check that your upper arms align with the center of your torso—this position helps maintain ease and balance throughout your movement.
To maintain a sense of free, flowing energy when bringing your hands to the keyboard, follow the steps below at a natural, steady tempo. Moving too slowly can cause energy to "freeze." Before you begin, double-check that your tongue and throat are relaxed—this will help release tension and access that free energy within your body. Count "1 & 2 &" as you move through the four steps, keeping each part of the motion evenly timed. This rhythm helps you sustain the sense of weight all the way to the moment of contact with the keys.
Step-by-step sequence
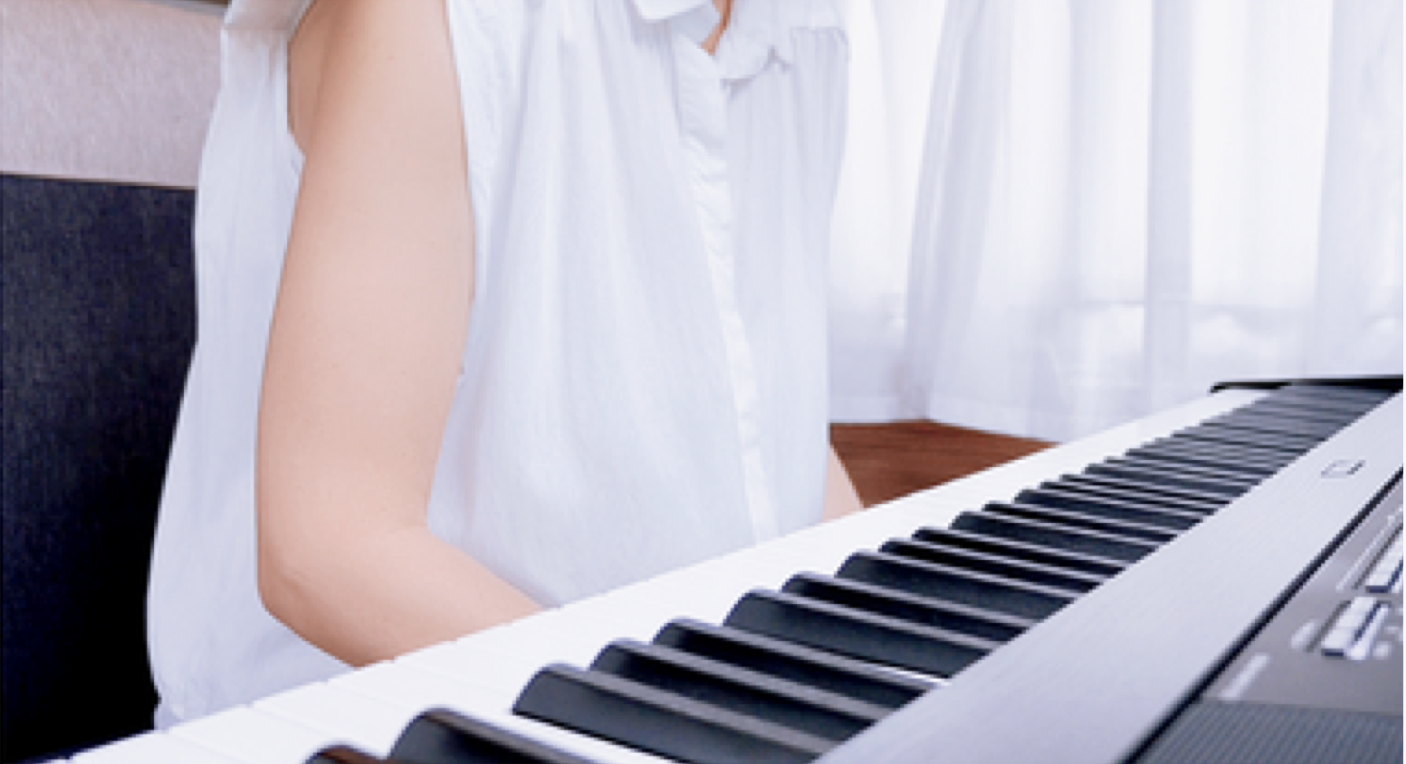
“1” — Lean Forward
Lean your torso slightly forward. Feel free energy grounded in your feet.
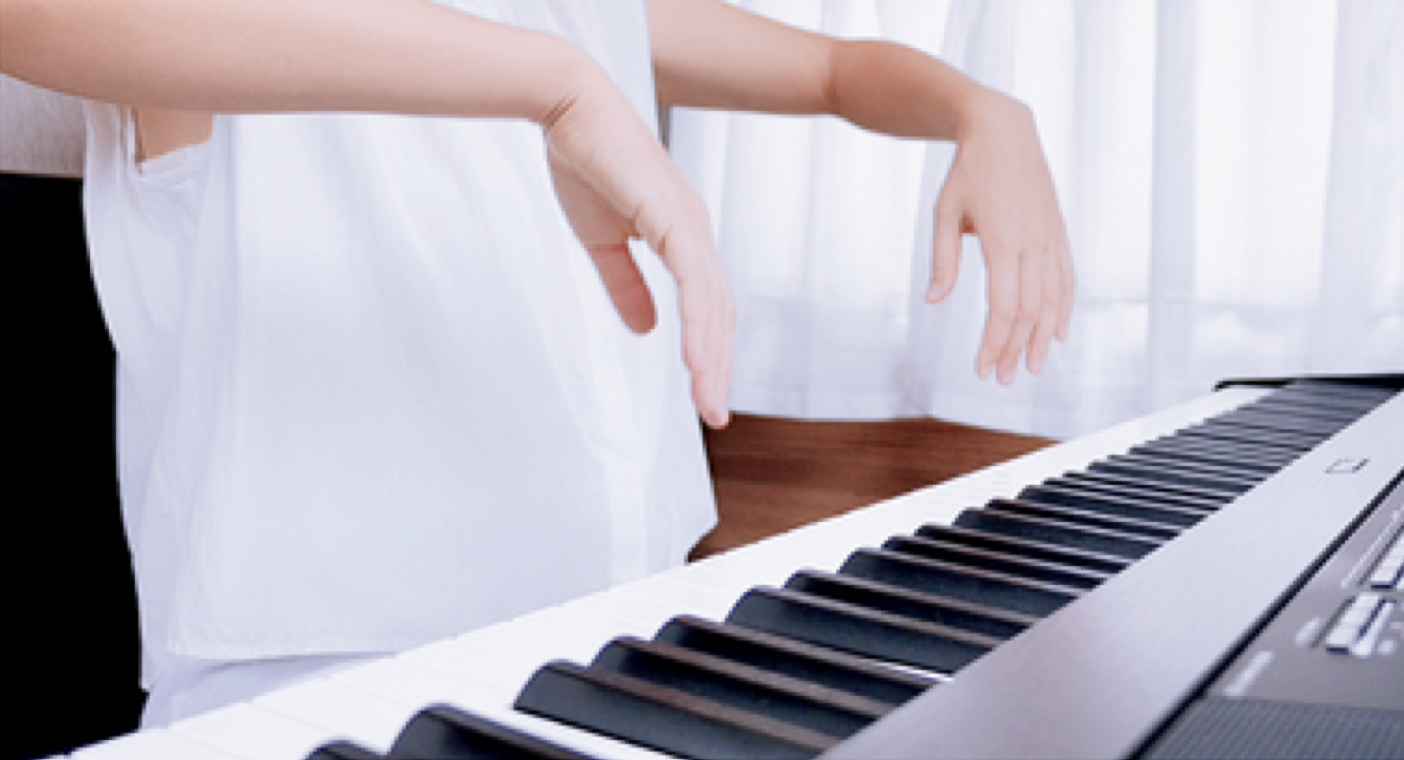
“&” — Lean Backward
Shift your weight slightly backward. Raise your elbows out to the sides, with upper arms aligned with the shoulders. Turn the forearms inward gently. Sense energy traveling up from the feet through the legs, hips, back, and shoulders.
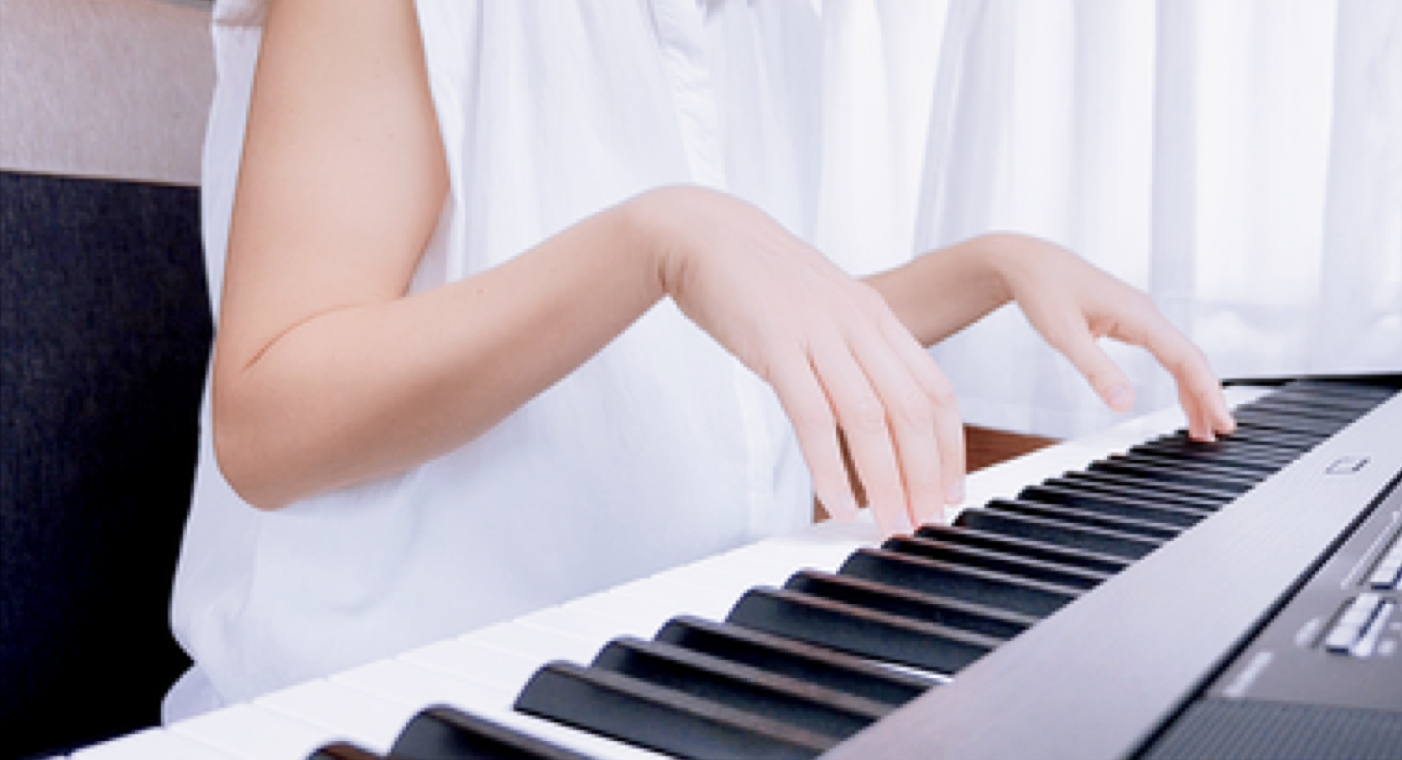
“2” — Lean Forward Again
Lower the elbows by bringing your torso forward, while maintaining a small gap between them and your torso. Let the energy flow through your arms, preparing to reach the keyboard. Keep the hands closer to the keys, with your fingertips nearly brushing the surface of the keys—this makes the final transfer of weight easier. Use the forward motion of the torso to generate a wave of energy that flows directly and deeply into the keys.
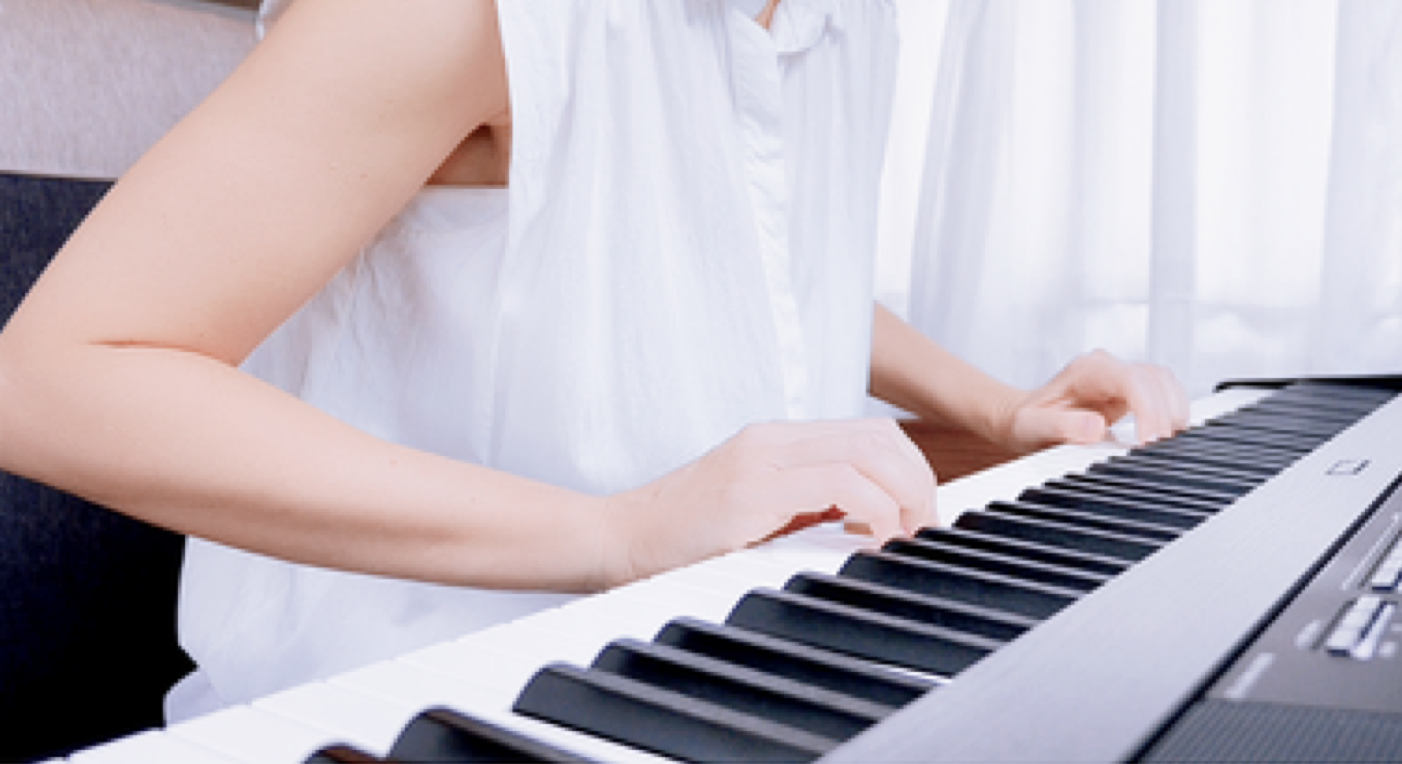
“&” — Land on the Keys
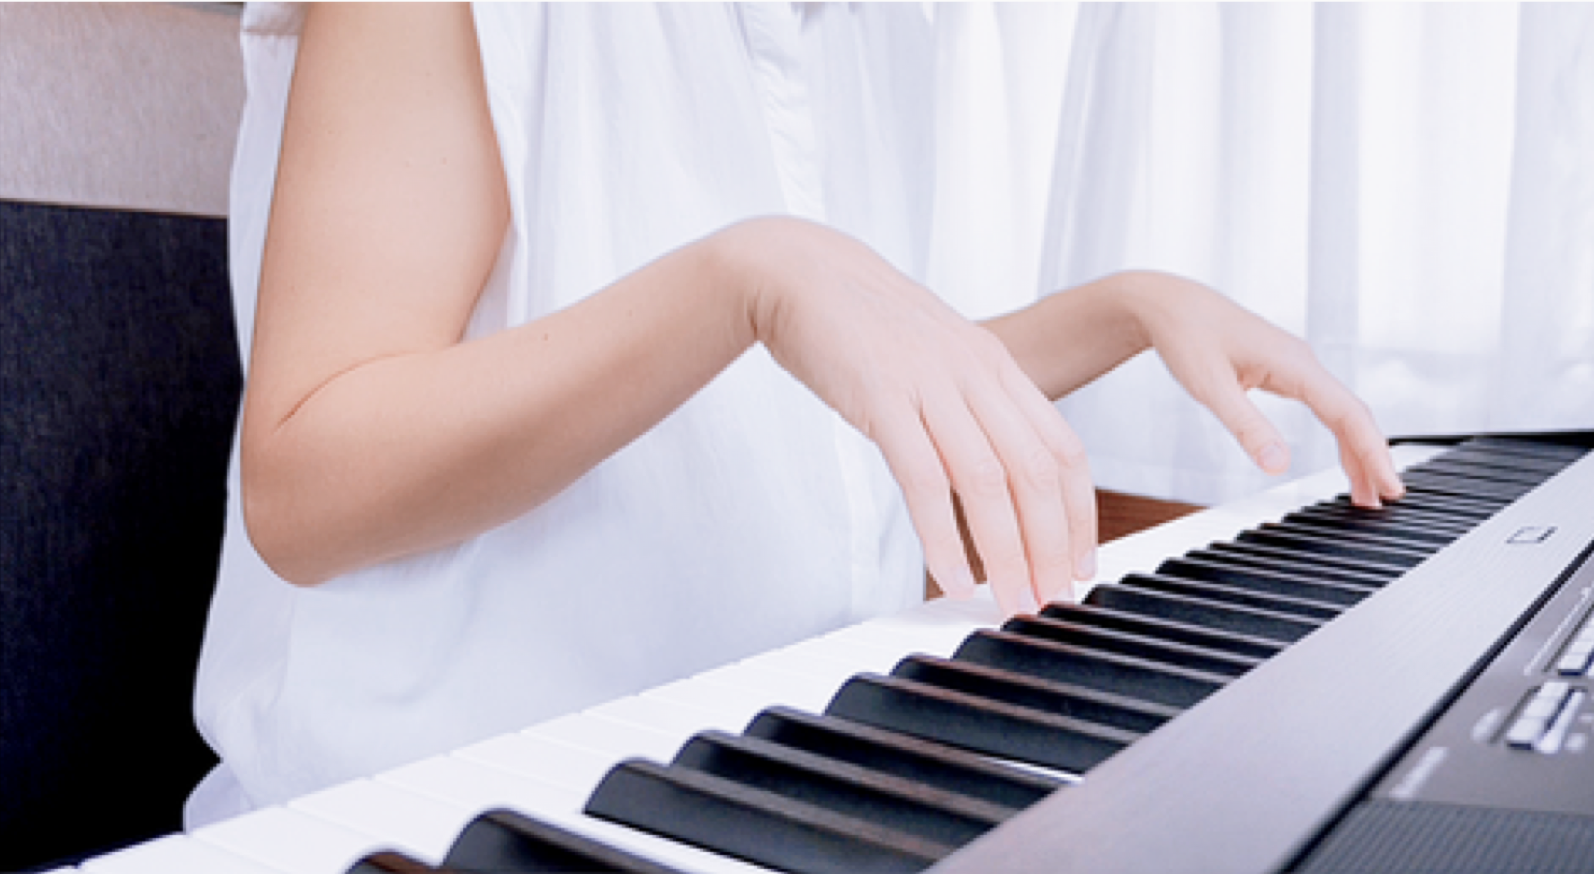
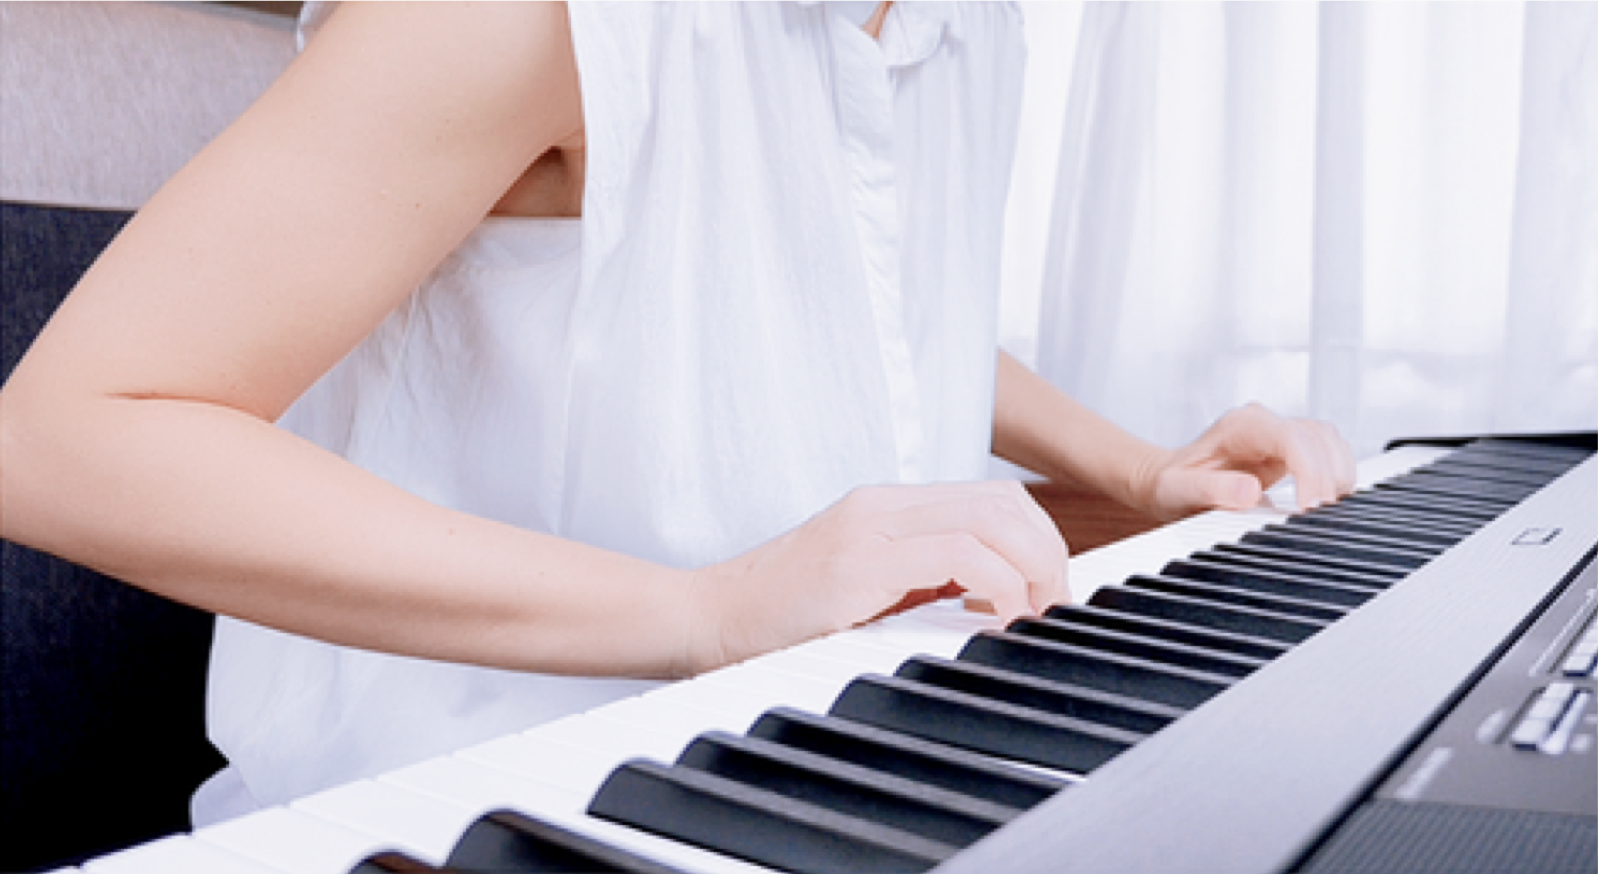
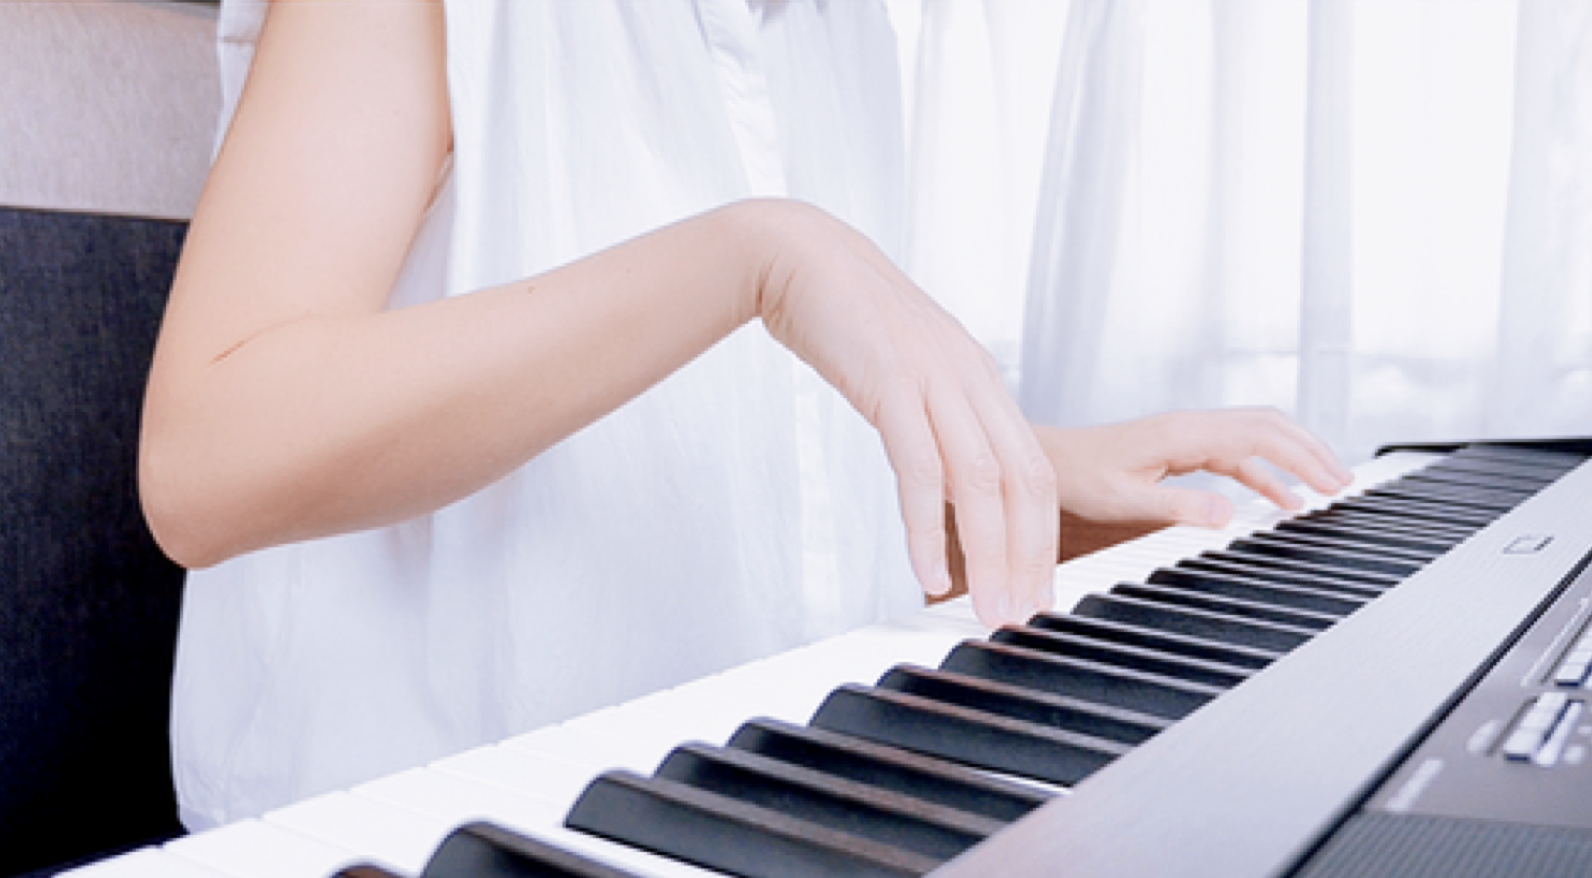
Allow your wrists to gently land with 3D circular motion, with your fingertips touching the keyboard at the 6 o’clock position. You may land both hands together, one after another, or separately—whichever supports ease. Play a single note, without hesitation, using a 3D wrist motion to the right or left. Keep your hands light and weak—this prevents tension from blocking the natural transfer of arm weight into the keyboard.
If your tone feels tight or harsh at this stage, consider two adjustments:Ensure your hands aren’t held too high above the keys at the count "2".
Avoid hesitating just before pressing the key at the count "&".Smooth, continuous motion ensures that energy flows freely into the touch.
When playing one hand after the other, lift both elbows up at the same time.Then gently bring the first elbow down to land, followed by the second.This sequencing helps preserve the sense of flow and balance between hands.
Weight Transfer · Exercise 1 — Amplified motion
Hands separate & hands together
Play the following exercises using intonation and arm weight, combined with 3D wrist motion. Playing with arm weight is a balance of grounded energy and light, effortless hands—as if the hands themselves are invisible, guided by a soft and subtle stroke. At the beginning, maintain a forward torso angle of about 30°. This posture allows gravity to assist the transfer of weight into the keyboard, helping you stay connected to the sensation of arm weight as you play. It ensures that the feeling doesn’t fade the moment your fingers begin to move.
The transformation of intonation through arm weight
As you combine arm weight with internal singing, you may notice that the resistance you previously felt during intonation becomes less pronounced. This is a natural shift. The singing becomes more open, voluminous, and spacious, and less defined by a two-dimensional sense of tension. Don’t worry if the sensation feels different—it hasn’t disappeared. It has simply evolved into a freer, more refined intonation.
Playing exercises
Exercise no.1 · Similar motion
Ascending
Descending
Exercise no.2 · Contrary motion
Ascending
Descending
Exercise no.3 · Contrary motion
Ascending
Descending
Weight Transfer · Exercise 2 — Flowing motion
Hands separate & hands together
After practicing with exaggerated motions, your body now naturally senses the proper waves of energy within. This allows us to move on to a more fluid and natural way of practicing—reducing all the amplified motions while still preserving the same sensation of weight transfer to the keyboard as before.
This time, instead of counting 1 & 2 &, we will use 1 & 2. The "1" remains aligned as before. However, the new "&" now includes both the "&" and the "2" from the previous exercise. As a result, the new "2" aligns with what was previously the second "&".
On "&," let the fingertips brush lightly across the surface of the keys.
- On the first "&", allow the torso to lean forward slightly, rather than moving the arms independently. This forward torso motion helps ensure a consistent transfer of arm weight to the keyboard.
- You can also help make the transfer of arm weight more perceptible by breathing through the mouth: exhale on "1" and on the very last "&", and inhale on the first "&".
- And always remind yourself to focus on the final destination of the arm-weight transfer: a wave of free energy flowing horizontally into the keyboard.
Weight Transfer · Exercise 3
To create a more natural sense of momentum and achieve a clearer transfer of arm weight, align this new movement pattern "1 & 2" with the new rhythm, counting steadily in the following way:
Related concepts in music cognition
Researchers have described similar aspects of musical thinking using terms such as:
- motor imagery
- embodied music cognition
These concepts overlap with aspects of the PianoWell System, although the system integrates them within a broader framework by connecting imagined sound directly to inner singing, movement and notational audiation.
Related Lessons